HDE BLOG

コードもサーバも、雲の上

第22回 Monthly Technical Session (MTS) レポート

5/27に第22回 Monthly Technical Sessionが行われました。

前回に引き続き、今回も7名のメンバーが各々持ち寄ったトピックについて発表してくれました。

今回の司会はBagusさんでした。

f:id:doi-t:20160527165948j:plain

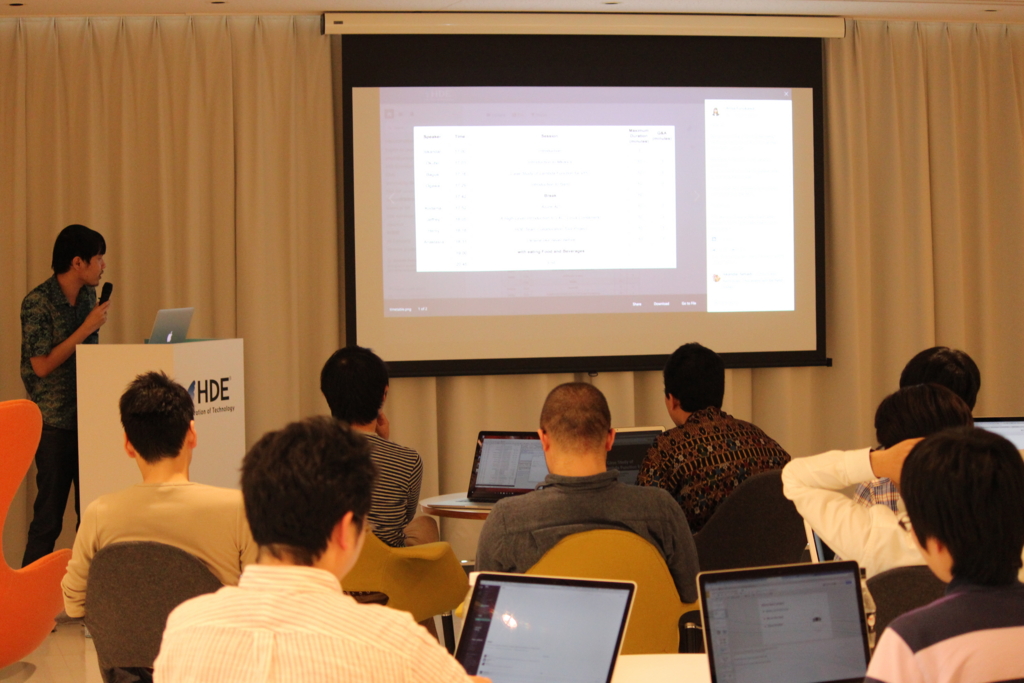
まずは木暮さんがDataScopeというタイトルで、今後社内に広く展開する予定のデータ分析基盤を紹介してくれました。あらゆるログを収集して分析することで、PDCAサイクルのCheckフェーズに対して、詳細なKPIを提供することができるようになるこの分析基盤を、将来的には横断的にチームやシステムに提供していく計画を示してくれました。

f:id:doi-t:20160527170210j:plain

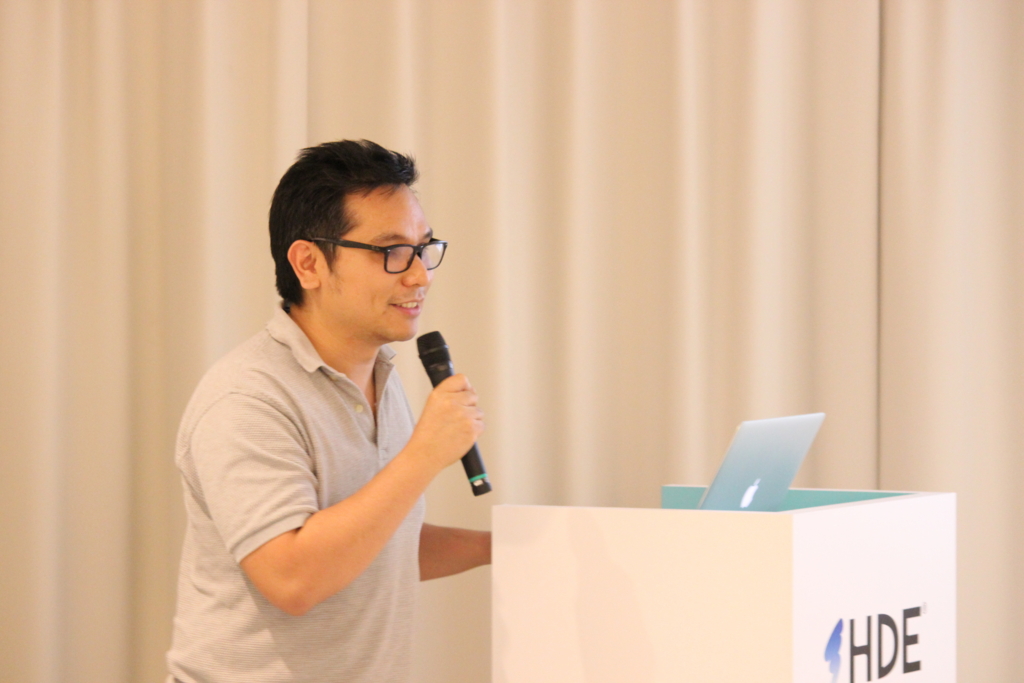
次に、荒川さんが、メールのTLS暗号化について、その仕組みと世の中の浸透具合を共有をしてくれました。2016年2月9日にGoogleがgmail上でメールの暗号化の明示するようになったのは、記憶に新しい方も多いと思いますが、世の中的にはまだまだ浸透しきったとは言えない状況のようです。

support.google.com

f:id:doi-t:20160527171654j:plain

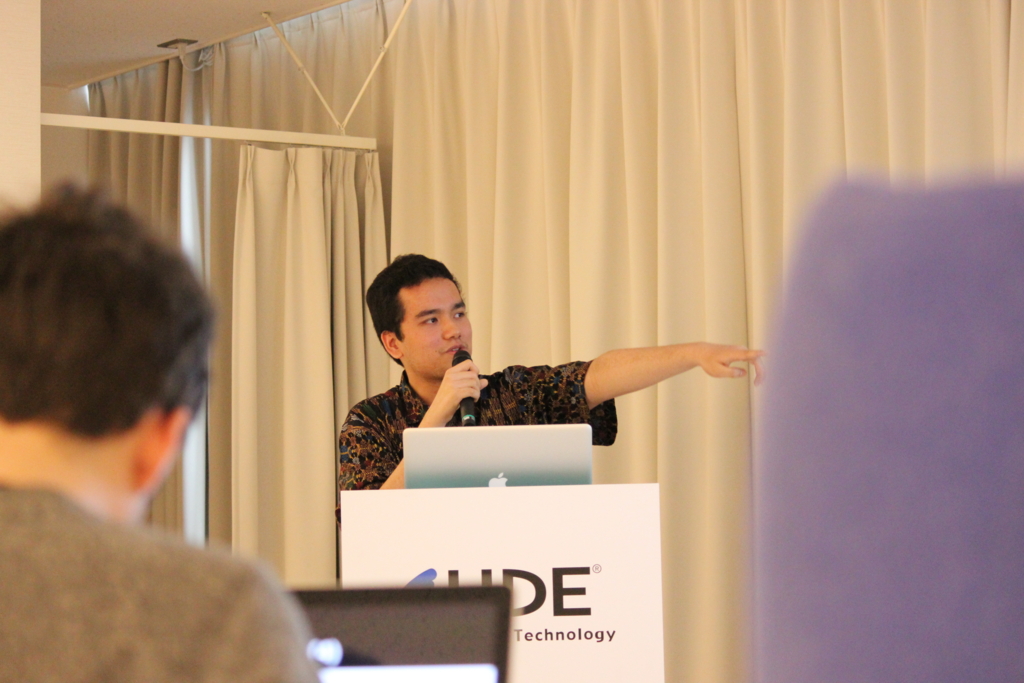
3番手は、直前にde:codeに行っていた小玉さんからイベントのレポートでした。より一層OSSへ寄り添う姿勢を見せるMicrosoftの変化を共有してもらいました。発表の最後には"Even Microsoft was able to change. We should be able to do the same."と言う提言が投げかけられました。

f:id:doi-t:20160527173006j:plain

休憩を挟んで...

f:id:doi-t:20160527174718j:plain

4番手はBumiさんによるAPI Gatewayの紹介でした。RESTfull APIの話から始まり、実際にAPI Gatewayでエンドポイントを作る流れや、Swaggerswagger importerの紹介などがありました。

f:id:doi-t:20160527175532j:plain

5番手のKevinさんは、JavaScriptのビルドツールについて。たくさんある中でもGruntGulpの紹介をしていただきました。フロントエンドのチームではこの発表を機に早速ビルドツールの見直しが始まっているようです!

f:id:doi-t:20160527181456j:plain

6番手は先月から新たに開発部門にてインターンを開始したRendongさん。IPython及びJupyterをデモを交えながら紹介してくれました。また、様々な言語に対応したJupyter NotebookがGithubやnbviewer上で公開されており、自由に使えます。

f:id:doi-t:20160527183049j:plain

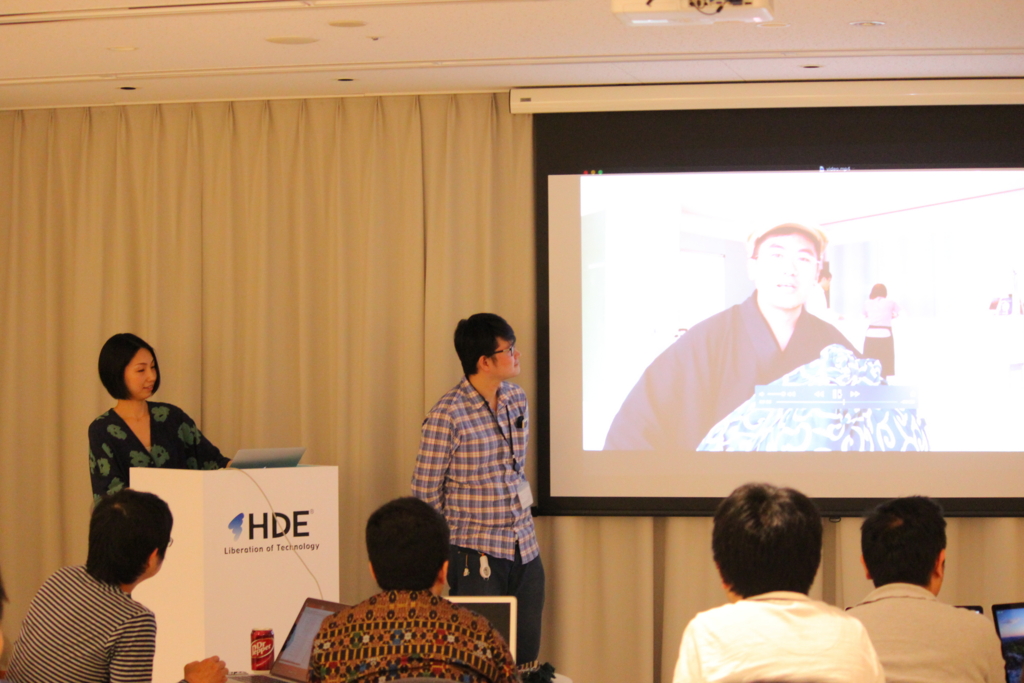
今回、当日中国でリモートワークしていたXudongさんがリモートで参加してみる、という試みが行われました。これは中国から質問している様子。

f:id:doi-t:20160527183325j:plain

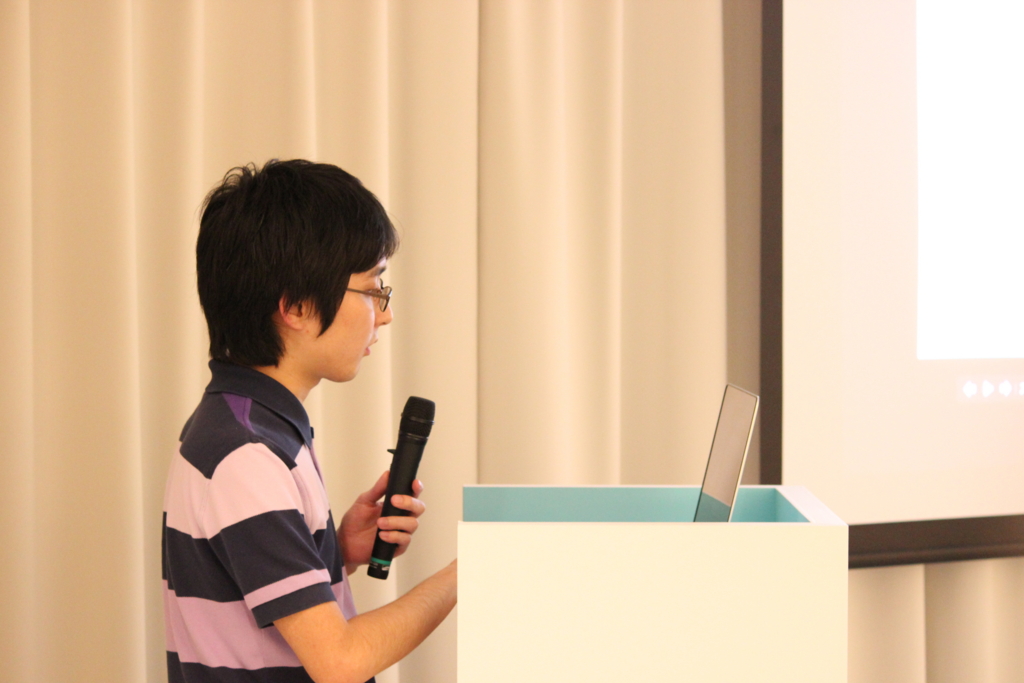
最後は、今日でインターン最終日だったAnastasiiaさん。インターン中に得た成果の一部として、ウクライナのIT事情について。実はIT人材が非常に多いウクライナの現状をデータと共に共有してくれました。

f:id:doi-t:20160527183651j:plain

MTS終了後、2カ月に渡るグローバルインターンを終えたAnastasiiaさんの修了式を取り行いました。

f:id:doi-t:20160527185443j:plain

MTSの後はAfter-party!

f:id:doi-t:20160527190858j:plain

f:id:doi-t:20160527190931j:plain

LXC : A Quick Overview

Hello, my name is Jeffrey Lonan, currently working as a DevOps Engineer in HDE, Inc.

This post is based on my presentation during HDE's 21st Monthly Technical Session.

Containers, Containers Everywhere!

As DevOps practitioners these days, containers are a part and parcel of our working life. Developers use them to test their Applications in their efforts to quash every last (major) bugs in their app. Operators use them to test their infrastructure configurations in their quest to create the ultimate “Infrastructure-As-A-Code” setup, or even deploying and running containers as part of their infrastructure.

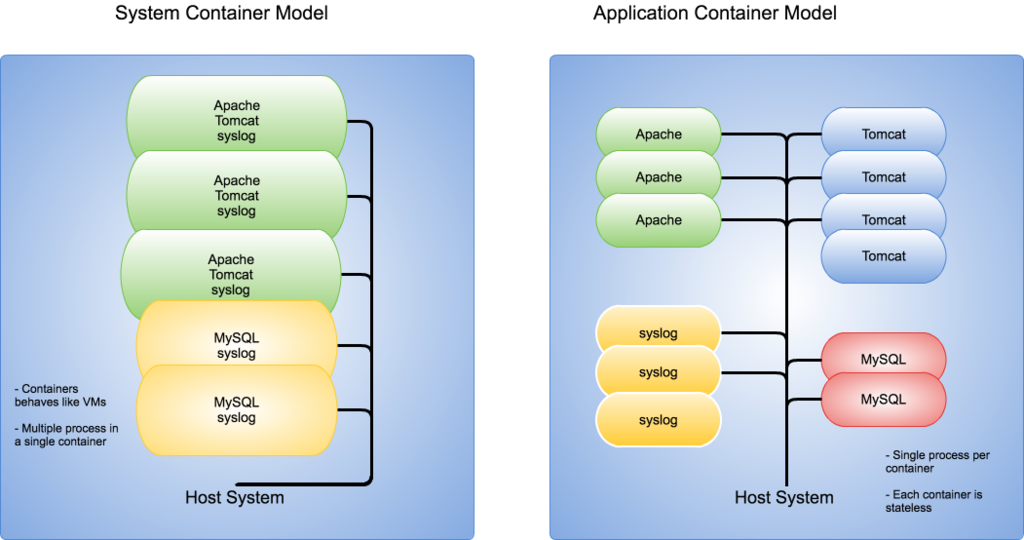
One of the most well-known container solution out there is Docker, as well as the up and coming rkt. These are Application Containers, whereby the design philosophy is to reduce a container as much as possible to only run a single process, ideally the application we want to run, and package it into a portable container image, which then can be deployed anywhere. Some application container providers (e.g. Docker) have an extensive toolset to make it easier to build & customise container images and deploying them into the infrastructure.

There are advantages and disadvantages concerning the Application Container philosophy, but we will not dwell on it in this post. Instead, let's get into a different way of running containers!

System Containers

Enter LXC . LXC is a System Container, which means that it is a Container that is designed to replicate closely a Bare Metal / VM host, and therefore you can treat LXC containers as you would treat a normal server / VM host. You can run your existing configuration management in these containers with no modifications and it will work just fine. f:id:jeffrey-lonan:20160523101106p:plain
LXC started as a project to utilize the cgroups functionality that was introduced in 2006, that allows separation and isolation of processes within their own namespace in a single Linux Kernel. Some of the features in LXC includes

  • Unprivileged Containers allowing full isolation from the Host system. This works by mapping UID and GID of processes in the container to unprivileged UID and GID in the Host system
  • Container resource management via cgroups through API or container definition file. The definition file can easily be managed by a configuration management tool
  • Container rootfs creation and customization via templates. When creating a container with a pre-existing template, LXC will create the rootfs and download the minimal packages from the upstream repository required to run the container
  • Hooks in the container config to call scripts / executables during a container’s lifetime
  • API and bindings for C & Python to programmatically create and manage containers
  • CRIU support from LXC 1.1.0 onwards (lxc-checkpoint) to create snapshots of running containers, which then can be copied to and re instantiated in another host machine

Our First Container

On a Linux system, you can use your favourite package manager to install lxc. For this example, let's use yum with CentOS 7

$ yum install -y lxc bridge-utils

the bridge-utils package is needed as the containers will communicate with the outside world via the host system's network bridge interface.

Assuming you have created a bridge interface called virbr0, let's proceed with actually launching a container! We will use lxc-create command will create the root file system (rootfs) for our container, using CentOS and named test01

$ lxc-create --name test01 -t centos
Host CPE ID from /etc/os-release: cpe:/o:centos:centos:7
dnsdomainname: Name or service not known
Checking cache download in /var/cache/lxc/centos/x86_64/7/rootfs ... 
Cache found. Updating...
Loaded plugins: fastestmirror
Loading mirror speeds from cached hostfile
 * base: ftp.iij.ad.jp
 * extras: download.nus.edu.sg
 * updates: ftp.iij.ad.jp
No packages marked for update
Loaded plugins: fastestmirror
Cleaning repos: base extras updates
0 package files removed
Update finished
Copy /var/cache/lxc/centos/x86_64/7/rootfs to /var/lib/lxc/test01/rootfs ... 
Copying rootfs to /var/lib/lxc/test01/rootfs ...
Storing root password in '/var/lib/lxc/test01/tmp_root_pass'
Expiring password for user root.
passwd: Success

Container rootfs and config have been created.
Edit the config file to check/enable networking setup.

The temporary root password is stored in:

        '/var/lib/lxc/test01/tmp_root_pass'


The root password is set up as expired and will require it to be changed
at first login, which you should do as soon as possible.  If you lose the
root password or wish to change it without starting the container, you
can change it from the host by running the following command (which will
also reset the expired flag):

        chroot /var/lib/lxc/test01/rootfs passwd

So our container rootfs has been created! Note that LXC will auto generate the SSH password for first-time login. Let's start our container using lxc-start and check for running containers with lxc-ls --active

$ lxc-start -n test01 -d
$ lxc-ls --active
test01

Our first container is up and running! We can access the container using SSH with the auto-generated password. If we are not sure about the IP address, we can also use the lxc-attach command to gain access to your container and do whatever is needed with your container (e.g. Installing packages, set IP address etc.).

$ lxc-attach -n test01
[root@test01 ~]# cat /etc/hosts
127.0.0.1 localhost test01

Our first container was created and instantiated using default settings, but default setting is no fun! At some point in time, we would like to customise our containers, so for this, we would need to create the container configuration files.

LXC Container Configuration

By default, the container config file will be created in the path you specify when running lxc-create, of which the default value is /var/lib/lxc/<container-name>/config. Here is a sample of a container custom configuration file of container named lxc3

# LXC Container Common Configuration
lxc.rootfs = /mnt/lxc3/rootfs
lxc.include = /usr/share/lxc/config/centos.common.conf
lxc.arch = x86_64
lxc.utsname = lxc3
lxc.autodev = 1
lxc.kmsg =1

# LXC Container Network Configuration
lxc.network.type = veth
lxc.network.flags = up
lxc.network.link = virbr0
lxc.network.name = eth0
lxc.network.ipv4 = 192.168.99.21/24

# LXC cgroups config
lxc.cgroup.cpuset.cpus = 0-1
lxc.cgroup.memory.limit_in_bytes = 1073741824

# LXC Mount Configs
lxc.mount.entry = /opt/lxc3 opt none bind 0 0

# LXC Hooks
lxc.hook.pre-start = /mnt/lxc3/setenv.sh

The configuration file above is used to define the container properties, like hostname, IP addresses, host folders to be mounted, among other things, using key-value pairs. We won't go into details on the container configurations here, so if you are curious about the configuration file, do check out the documentation.

LXC Python APIs

So, you've configured your container configurations and created your containers. So what next? Automate your container deployment and configurations? Of course!. I created a simple Python script for the previous MTS session to create and start a container, so let's check it out!

#!/usr/bin/env python
import lxc
import sys
import argparse

parser = argparse.ArgumentParser(description='Create a LXC container')
parser.add_argument('--name', help='Container name')
parser.add_argument('--create', help='Create the Container', action="store_true")
parser.add_argument('--start', help='Start the Container', action="store_true")
parser.add_argument('--stop', help='Stop the Container', action="store_true")
args = parser.parse_args()

#Set Container Name
c = lxc.Container(args.name)

#Set container initial configuration
config = {"dist":"centos","release":"7","arch":"amd64"}

#Create Container
if args.create:
 print "Creating Container" 
 if c.defined:
        print ("Container exists")
        sys.exit(1)

 #Create the container rootfs
 if not c.create("download", lxc.LXC_CREATE_QUIET, config):
        print ("Failed to create container rootfs",sys.stderr)
        sys.exit(1)

#Start Container
if args.start:
 print "Starting Container"
 if not c.start():
        print("Failed to start container", sys.stderr)
        sys.exit(1)
 print "Container Started"

# Query some information
print("Container state: %s" % c.state)
print("Container PID: %s" % c.init_pid)

#Stop Container
if args.stop:
 print "Stopping the Container"
 if not c.shutdown(3):
    c.stop()

 if c.running:
    print("Stopping the container")
    c.stop()
    c.wait("STOPPED", 3)

You will need to install the lxc-python2 package using pip and import it to your script. So, to create a container and start it up, I simply run the following

$ ./launch-lxc-demo.py --help
usage: launch-lxc-demo.py [-h] [--name NAME] [--create] [--start] [--stop]

Create a LXC container

optional arguments:
  -h, --help   show this help message and exit
  --name NAME  Container name
  --create     Create the Container
  --start      Start the Container
  --stop       Stop the Container

$ ./launch-lxc-demo.py --name test01 --create
Creating Container
$ lxc-ls
test01
$ ./launch-lxc-demo.py --name test01 --start
Starting Container
Container Started
Container state: RUNNING
Container PID: 689
$ lxc-ls --active
test01
$ lxc-attach -n test01
[root@test01 ~]# 

You can also get and set the container configuration via the API to update your container configuration programmatically. For more information on the APIs, please check out the documentation here

Conclusion

So we have gone through some of the more interesting features available in LXC. There are more features in LXC that cannot be covered by this post, so if you are interested for more information, please visit the official LXC website at Linux Containers. You can also check out the excellent blog posts by Stéphane Graber, the project lead on LXC, here.

As an Operator, I have used both Docker and LXC for testing and deploying infrastructure, and personally, I prefer LXC due to its VM-like characteristics, which makes it easy for me to run my existing configuration management manifests inside LXC.

I also enjoyed the flexibility afforded by the LXC configuration file, and in fact, I have used my configuration management tool to create & maintain LXC configuration files and launch customised container into the infrastructure. With new tools like LXD coming up, I am confident that LXC will find its place in DevOps, alongside Docker and rkt.

Configuring an AWS Lambda Function to Access Both Resources in Public Internet and an Amazon VPC

Hello, this is Bagus from HDE, Inc.

This post is a summary of my presentation on HDE's 21st Monthly Technical Session.

Recently, I’ve been working more with AWS Lambda. There was a time when I created a Lambda function which accesses both resources in public internet and an Amazon VPC. I learned quite a lot from it, so I'd like to share the experience.

続きを読む

第21回 Monthly Technical Session (MTS) 開催!

4/22に毎月行っている Monthly Technical Session (MTS) が開催されました。MTSは、主に技術的な興味関心、また現在行っている取り組みから得られた知見を共有するための取り組みで、今回で第21回目です。

今回は7名のメンバーが発表してくれました。グローバルメンバーが増えてきたこともあって、MTSは司会進行から質疑応答も含めて全編通して英語で行っています。

今回の司会進行はイスカンダルさんでした。

f:id:doi-t:20160422172056j:plain

トップバッターは大久保さん、MkDocsによるドキュメント生成について。ローカルに立てたサーバを使ってリアルタイムにドキュメントが更新される様子をデモで紹介していただきました。

f:id:doi-t:20160422172451j:plain

2人目はバグースさん、AWS lambda functionをVPC内に作った経験を発表していただきました。VPC内のlambda functionからVPC外のAWSリソースにアクセスするにはNAT GatewayやVPC endpointを用意する等、得られた知見を共有してくれました。

f:id:doi-t:20160422174332j:plain

3人目は小河さん、現在開発中のサービスと社内の開発体制について発表してもらいました。各チームメンバーのプロジェクト内における役割、Goを全面的に採用したプロジェクトではコードベースにどれほどインパクトがあるのか、等を社内向けに紹介していただきました。

f:id:doi-t:20160422175453j:plain

休憩を挟んで、4人目は小玉さん、マイクロソフトのActive Directory & Security Conference 2016に参加きた報告をしていただきました。マイクロソフトがAzure ADをどういった形でIDaaSとして提供しようとしているのか、実際にAzureAD認証を行うデモと共に紹介してくれました。

f:id:doi-t:20160422181357j:plain

5人目は4月1日に入社したばかりのジェフリーさん、LXCとは何かについてデモを交えつつ紹介していただきました。発表の中で、LXCのコンセプト、LXDとの関係、またdockerとの違いについて持っている知見を共有してくれました。

f:id:doi-t:20160422182446j:plain

6人目はヘンリーさん、インターンシップ中に開発したツールの紹介をしてくれました。3週間足らずでアイデアを形にして、デモを披露してくれました。

f:id:doi-t:20160422184615j:plain

7人目はグローバルビジネスインターンシップ中のナスタシアさん、出身のウクライナについて、歴史、食べ物、文化などたくさんの写真と共に紹介してくれました。

f:id:doi-t:20160422185502j:plain

この日は、ヘンリーさんの8週間に渡るインターンシップの最終日だったので、MTS終了後に修了式を執り行いました。ちょうど桜のシーズンだったこともあって、インターンシップだけでなく一緒に花見をしたり、夜桜を見に行ったりと、がっつり日本を楽しんでいってくれたように思います。

f:id:doi-t:20160422191600j:plain

当日は弊社CTOが着物で台湾に出張中だったため、ビデオレターにてヘンリーさんへのメッセージを届けてくれました (ビデオのオチで会場の爆笑を掻っ攫っていきました)。

f:id:doi-t:20160422191412j:plain

終わった後は、いつも通りみんなで乾杯!

f:id:doi-t:20160422193339j:plain

第20回 Monthly Technical Sessionが開催されました

3/18に第20回 Monthly Technical Session (MTS) が開催されました。MTSは月一回執り行われる、主に社内向けに現在どのような事を技術者が行っているのかという情報やその中で得られた知見を共有するための取り組みです。

司会のシー・ハンさんが開催をアナウンスしてくれました

f:id:lestrrat:20160318173001j:plain

今回のお題は二つです。最初はイスカンダルさんによる、現在旧アーキテクチャから新アーキテクチャにデータ移行中のサービスの概要についてです。データの整合性の取り方や考えられる問題点等についての説明をしていただきました。

f:id:lestrrat:20160318174551j:plain

次は牧によるJSON Schemaとその関連技術を使ってコードを自動生成するための道のりの話です。サーバーのスケルトン、バリデーション、クライアントコードなどが全てひとつのスキーマから生成されるまでの仮定やなぜ他のツールではなくJSON Schemaを使うのか等の話をしました。

f:id:lestrrat:20160318180115j:plain

トークの後は軽食とビールの時間です!

f:id:lestrrat:20160318190126j:plain

自作Let's EncryptクライアントをGoで書いた話

開発部たなべです。

Let's Encrypt (以下LE)が今年の1月についにDNSベースのドメイン認可をプロダクション環境で有効にしました。

これにより、証明書発行が完全自動化できるのを記念(?)して先月の社内勉強会で少し話しました。つまりは昨年のアドベントカレンダーの続きです。 スライドでも触れましたが、勉強会の当日(1/22)にAWSからACMが発表されるというちょっとしたハプニングがありました。

speakerdeck.com

AAA Updates

AAAとは私が開発しているACMEプロトコルのクライアント実装です。Goで実装しています。

github.com

主な特徴はAWS内で完結させていることです。つまり、

  • すべてのコードはLambda Functionとして実行
  • すべてのデータはサーバサイド暗号化を適用したS3へ保存

することでステートレスでサーバレスを実現しています。アドベントカレンダー以後のアップデートとしては、

  1. 証明書自動更新に対応しました。

    Goで実装したcliアプリをLambda向けにzipし、CloudWatch Eventsを使い、証明書の自動更新処理を行ないます。 Go製のcliをNodeでラップし、Lambda Functionとするのが私の中で王道になりつつあります。OS Xで開発・実行できるうえに、一瞬でLinux向けにビルドできるのでまさにLambda Functionにぴったりです。 早くLambdaのGo対応きてほしいですね。

  2. Slackインテグレーションに対応しました。

    ドメインの認可と証明書の発行がSlackからできます。こちらはAPI Gateway経由でLambda Functionを実行しているだけなので、他とのインテグレーションも難しくないと思います。

  3. ドメイン認可プロセスのDNSチャレンジに対応しました。

    こちらが目玉機能です。Route53環境があれば対象のサーバなしで証明書が発行できます。

今後はApexを利用してLambda Functionを管理できるようにする予定です(ただし、Apex自体ではCloudWatch Eventsには対応せず、Terraformに任せる予定のようです)

Let's EncryptとAmazon Certificate Manager (ACM)

スライドの最後でも触れましたが、改めてLEとACMについて触れます。

ACMはまだ出たばかりでus-eastのみです。現時点ではLEのほうが使い勝手がよさそうです。 リージョンの問題がなくなった場合、ELB連携は魅力的です。AWS内で完結できるのはとてもありがたいです。 また、ACMはワイルドカード証明書にも対応しているので一枚あれば事足りるのも魅力的です。

ACMEプロトコル側でもワイルドカードサポートの議論が始まっています。

github.com

一方で、ACMの証明書発行プロセスではメールでドメインを認可する必要があり、ここが自動化の障害となっています。 でも、証明書の期限は13ヶ月と長いのが幸い、というところでしょうか。

今後ACMEプロトコルの利用が進み、いい感じになったところでACMがACMEプロトコルに対応してくれればすべて丸く収まる…というのが私の妄想です。

ではまた!

Building AWS Lambda function in Rust

This post is a summary of my presentation on 18th Monthly Technical Session.

As I worked more on AWS Lambda for some feature of our service, I looked into developing AWS Lambda functions with languages not supported by Amazon. Recently, I'm working on some private project in Rust so it is worth a try to see whether it is possible to run Rust code on AWS Lambda.

How to run Rust code on AWS Lambda

According to the document of AWS Lambda, the function is run on Amazon Linux with some language runtime and library. It is also possible to spawn new process to run some executable. So there is really little limitation on how the function executes aside from the limitation on CPU, memory and network usage.

There are 2 possible ways to run code in languages not supported:

  • Spawn a new process to run some executable.

    With this way, some standalone executable that is runnable on Amazon Linux is built. The AWS Lambda function creates a new process to run it.

  • Build the code into dynamic load library and load the library with language supported and call the function. (Python or Javascript)

Code written in Rust can be easily compiled into dynamically linked (shared object) library which only depends on GNU libc on a Linux distribution. Also, Python supports loading this kind of library naturally. So the second option is quite adoptable.

Sample project

Here is the code of a sample project to build an AWS Lambda function in Rust with Python code as a loader.

https://github.com/yxd-hde/lambda-rust-demo

The Python loader

To implement handler function in Rust, some code in Python is required to load the library built from Rust and call the function in the library.

Python's cdll package is used to load the library built from Rust (which is named with libhandler.so and uses standard C calling convention) and then the code call the handler function with event and context serialized into json strings.

The code is quite simple and uses simplejson library to do json serialization.

from ctypes import cdll

import simplejson as json

lib = cdll.LoadLibrary('./libhandler.so')


def handler(event, context):
    ret = lib.handle(json.dumps(event),
                     json.dumps(context, default=encode_context))
    return ret


def encode_context(context):
    return {
        "function_name": context.function_name,
        "function_version": context.function_version,
        "invoked_function_arn": context.invoked_function_arn,
        "memory_limit_in_mb": context.memory_limit_in_mb,
        "aws_request_id": context.aws_request_id,
        "log_group_name": context.log_group_name,
        "log_stream_name": context.log_stream_name

        # add others if it is required.
    }

The handler in Rust

In Rust code, the event and context parameters are in C string and need to be converted into Rust strings for further processing. Some unsafe conversion is required to be done before handling them. After that, all things can be done in Rust safely.

Here, Rust's libc library is used for the type of C char pointer, which represents a string in C.

extern crate libc;

use std::ffi::CStr;
use libc::c_char;

#[no_mangle]
pub extern "C" fn handle(c_event: *const c_char,
                         c_context: *const c_char) -> i32 {
    let event = unsafe { CStr::from_ptr(c_event).to_string_lossy()
                         .into_owned() };
    let context = unsafe { CStr::from_ptr(c_context).to_string_lossy()
                           .into_owned() };

    real_handle(event, context)
}

fn real_handle(event: String, context: String) -> i32 {
    println!("Event: {}", event);
    println!("Context: {}", context);

    // Do the real handling

    return 0;
}

Wind them together

To wind them together, there are some extra work to do.

Build the Rust code into an .so file

In Cargo.toml, it is required to tell Rust's build tool cargo that the build target is a dynamic library.

...

[lib]
name = "handler"
crate-type = ["dylib"]

...

Add all the dependencies

The dependencies in Rust are managed by cargo, while requirements.txt is used for Python though there is only simplejson required.

Make the zip package to deploy

Python code, simplejson library and libhandler.so file built from Rust needs to be packaged together in one zip file to deploy.

The libhandler.so file should be binary compatible with Amazon Linux. It is recommended to build it on a distribution that is binary compatible with Amazon Linux.

AWS Lambda settings

An AWS Lambda function with Python environment is required and the handler needs to be set to Python's handler function.

Others

logs

Rust function can just output to stdout for logging as this is supported by AWS Lambda.

error handling

For the code above, the return value of Rust's handler can be used to decide whether the execution succeeded.

Finally

Rust code is safe and supposed to be as performant as C and C++. With this way of implementation, it is possible to use Rust as the language to develop AWS Lambda function easily. It is worth a try if there are requirements to develop performant AWS Lambda function, especially when the function is computation focused.